The Nintendo Switch Pro Controller is a popular accessory for gamers who want a better gaming experience. It offers comfort, advanced features, and excellent battery life compared to Joy-Con controllers. Pairing your Pro Controller to the Nintendo Switch system is easy and straightforward. This article will guide you through the process in simple steps, ensuring you can get back to your games without any hassle.
Understanding the Switch Pro Controller
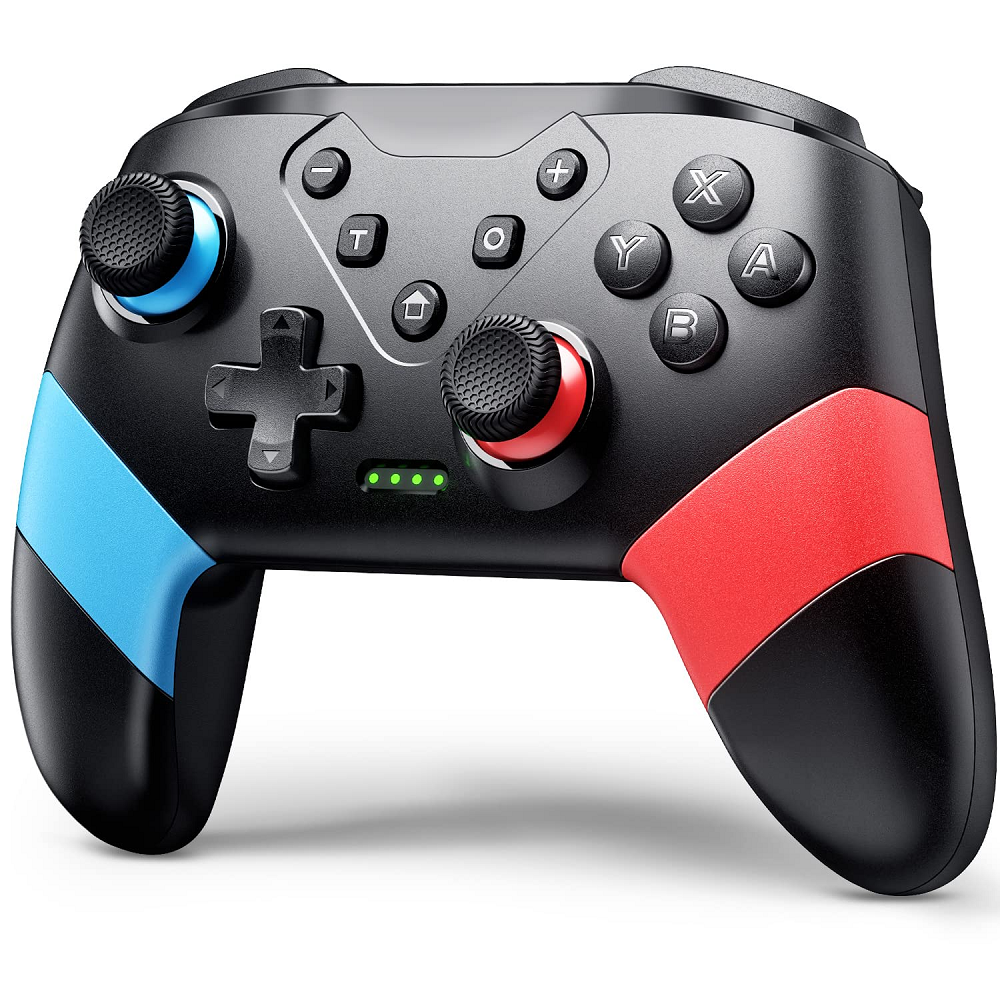
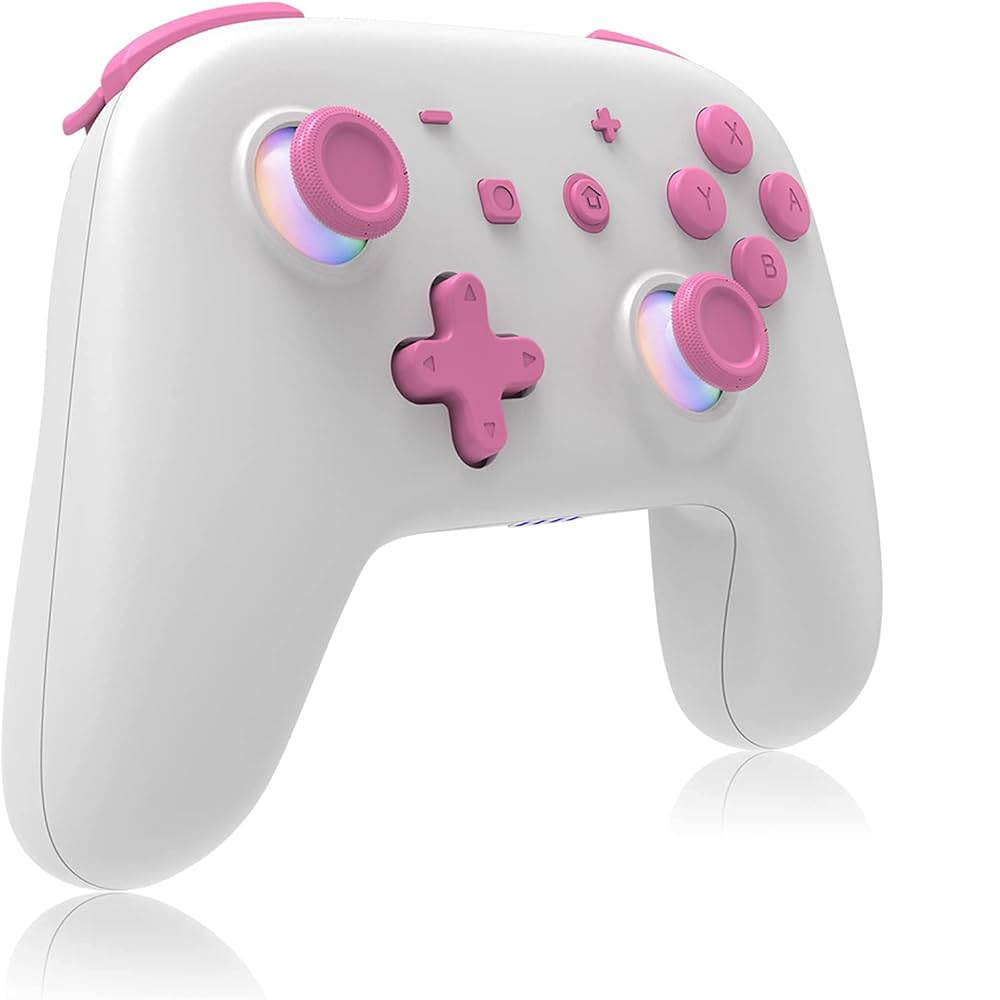
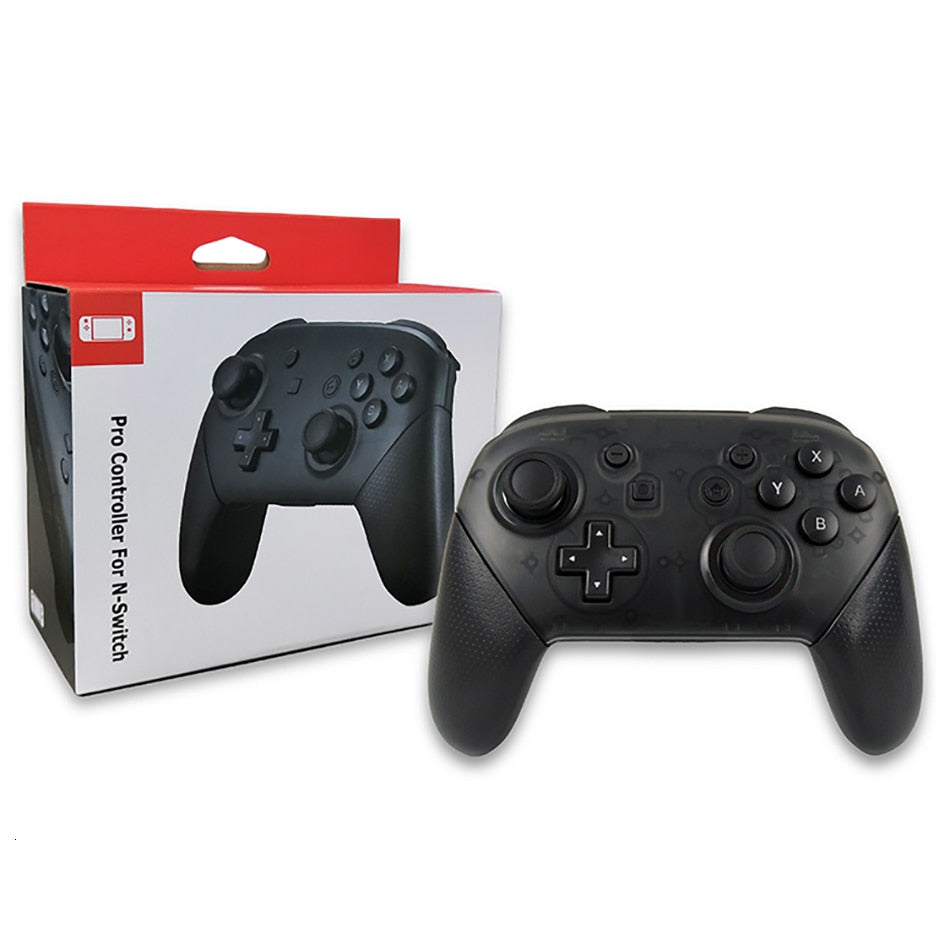
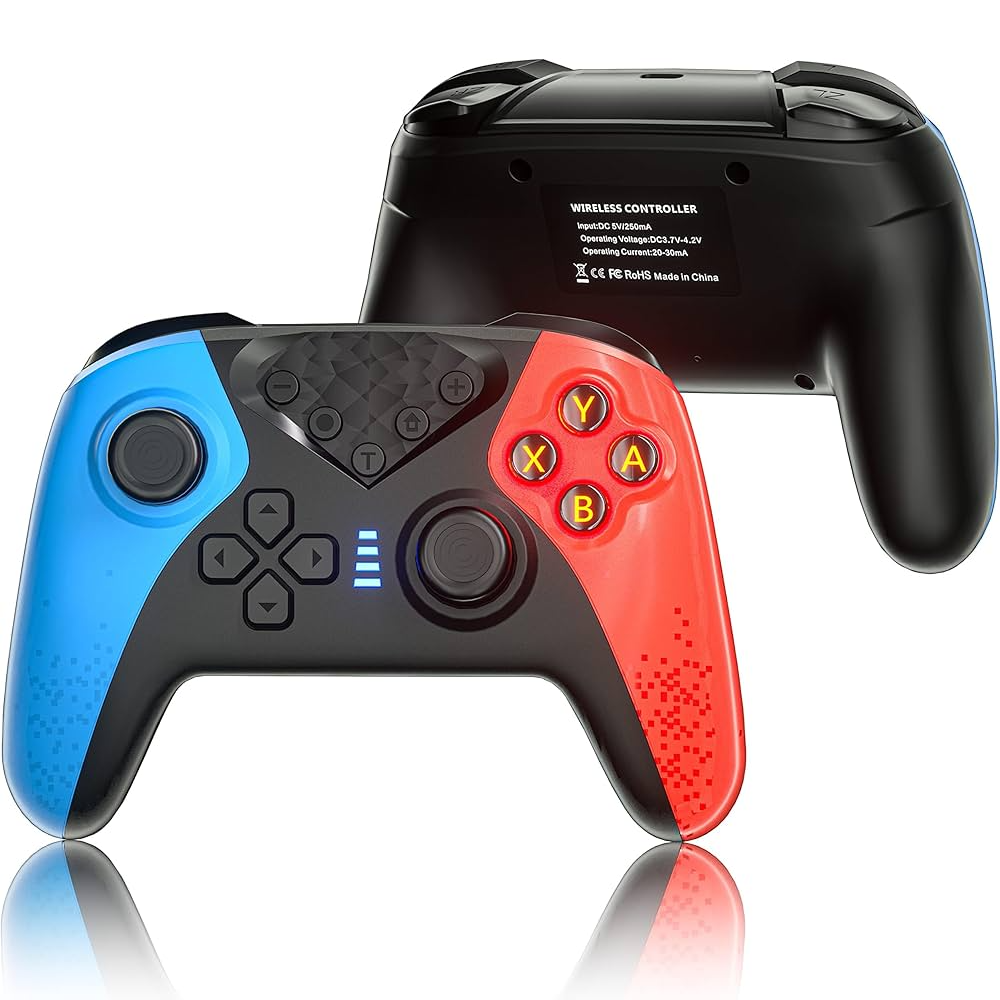
Before you start the pairing process, it’s essential to understand the Pro Controller. This controller has a more traditional feel compared to the Joy-Con controllers. It features larger joysticks, a D-pad, and all the buttons you need for gaming. It also includes motion control and HD Rumble, making gaming even more immersive.
The Pro Controller is powered by a battery that can last for up to 40 hours of gameplay. When not in use, the controller enters a sleep mode to conserve battery life. You can charge it via a USB-C cable, making it convenient for gamers on the go. Now, let’s dive into how to pair it with your Nintendo Switch.
Preparing for Pairing
Gather Your Equipment
Before you start, make sure you have your Nintendo Switch, the Switch Pro Controller, and a USB-C charging cable. If your controller is brand new, it may not be charged. Connect it to your Nintendo Switch dock or any USB port to ensure it has enough power. This simple preparation will make it easier to pair the controller.
Check Your Settings
Make sure your Nintendo Switch is updated to the latest firmware. Sometimes compatibility issues can arise if your console is not running the latest software. Go to the system settings and check for updates. Look for any available files to download. Keeping the system software up to date will improve compatibility with various controllers, including the Pro Controller.
Power On the Console
Next, make sure your Nintendo Switch is powered on. If you have both handheld and docked modes, you can do this in either mode. However, for the simplest pairing process, it’s often easier to do this while the console is docked. This way, you can easily connect the controller using the USB-C port initially if you need to.
Pairing the Pro Controller
Initial Connection via USB
To pair your Pro Controller, start by connecting it directly to the Nintendo Switch dock using the USB-C cable. Connect one end to the controller and the other end to the USB port on the dock. Your Switch will recognize the controller immediately.
When connected, the Switch will automatically pair the controller. You should see a notification on the screen confirming that a new controller has been added. This step is quick and should take only a few seconds.
Wireless Connection
Once you’ve connected the controller via USB, you can switch to wireless mode. First, disconnect the USB cable. Then, press the “Home” button on your Pro Controller. The lights at the bottom of the controller will start flashing, indicating that it is trying to connect wirelessly.
In a moment, the lights will eventually settle down, showing that the controller is connected. If the connection is successful, you can now use the controller wirelessly. Enjoy the mobility that comes with using a wireless controller!
Troubleshooting Common Issues
Connection Problems
Sometimes, you may encounter issues when trying to pair the Pro Controller. If your console doesn’t recognize the controller, try the following steps. First, ensure the battery on the controller is charged. If it’s low on battery, it may not connect properly.
If the issue persists, restart your Nintendo Switch. Simply hold down the power button until you see the power options. Choose to restart the console. After the console has turned back on, repeat the pairing process.
Bluetooth Interference
Another problem can arise from Bluetooth interference if there are too many devices connected. The Pro Controller uses Bluetooth technology to connect to the Nintendo Switch. If devices like headphones or other controllers are nearby, they could interfere with the connection.
To resolve this issue, disconnect any unnecessary devices. Go to the system settings and remove any unused controllers. This will make sure that only the devices you want are connected to your Switch, which can improve the chances of a successful pairing.
Update Controller Firmware
In some cases, the Pro Controller may need a firmware update. This usually happens when there’s a new update available. To check for updates, connect your Pro Controller via USB and head to the system settings on your Nintendo Switch. Find the option for controllers, go to Pro Controller, and look for firmware updates. If any are available, download and install them. This step can often solve various issues related to connectivity.
Additional Features of the Switch Pro Controller
Motion Controls
The Switch Pro Controller comes with built-in motion controls. This feature enhances the gaming experience, especially in titles that utilize motion techniques. You can tilt, turn, and rotate the controller to perform various in-game actions.
To enable or adjust motion controls, navigate to the game settings or the controller settings in the Switch menu. Look for the option to enable motion controls. This will greatly benefit gameplay in titles like ‘The Legend of Zelda: Breath of the Wild’ and ‘Splatoon 2.’
Amiibo Functionality
Another cool feature is the built-in Amiibo compatibility. If you collect Amiibo figures, you can use them with the Pro Controller. Just tap an Amiibo figure on the right joystick to activate its special features in compatible games. This adds more depth and additional gameplay elements, making your gaming experience even richer.
Custom Button Mapping
The Pro Controller allows you to customize button mapping as well. If you prefer specific controls for certain games, you can change how the buttons function. Go to the controller settings in the Switch menu to customize your button layouts. This personalization can improve your comfort during extended gaming sessions.
Battery Management
Don’t forget to manage your controller’s battery life. The Switch Pro Controller has an impressive battery, but it’s good practice to charge it regularly. When connected to the dock, it will charge automatically. However, if you’re using it wirelessly, you can check the battery level in the controller settings menu. Knowing when to charge will help you avoid interruptions during gameplay.
Frequently Asked Questions
How Do I Disconnect the Pro Controller?
When you’re finished playing, you may want to disconnect the Pro Controller. To do this, press and hold the “Home” button for a few seconds. A menu will pop up on your screen. From there, you can select the option to disconnect the controller.
Can I Connect Multiple Controllers?
Yes, you can connect multiple Pro Controllers to your Nintendo Switch. This is great for local multiplayer games. Simply follow the same pairing process for each controller. Just make sure each one is fully charged for optimal performance.
What Should I Do If My Controller Stops Working?
If your Pro Controller suddenly stops working, first ensure that it is charged. If the battery is fine, try to reconnect the controller by following the pairing steps. Sometimes a simple reconnect can solve the issue.
If problems persist, consider contacting Nintendo support for additional troubleshooting tips and service options. Keeping your hardware in good condition ensures that you can enjoy your games without interruptions.
Conclusion
Pairing the Nintendo Switch Pro Controller is a straightforward process once you understand the steps involved. With the right preparation, you can enjoy seamless gaming with added comfort and functionality. Whether you are in docked mode or handheld mode, the Pro Controller is compatible and provides a fantastic gaming experience.
Troubleshooting common issues can also empower you to resolve challenges on your own. The Pro Controller’s advanced features, such as motion controls, Amiibo functionality, and button mapping options, significantly enhance your gameplay.
Remember to keep your controller and Switch updated and practice good battery management for the best performance. With these tips, you will be all set to enjoy countless hours of gaming with your Switch Pro Controller. Happy gaming!


