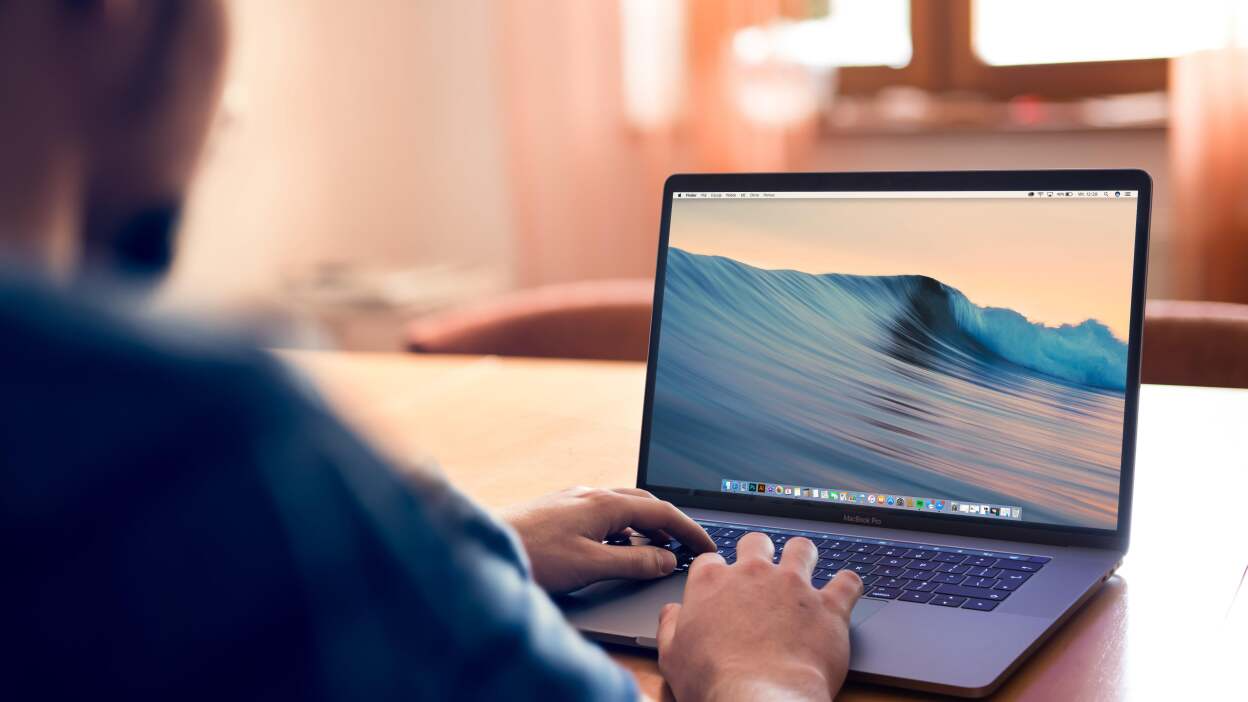
Many MacBook users may find themselves needing to use the built-in camera for video calls, virtual meetings, or other multimedia purposes. Fortunately, MacBooks are designed with user-friendliness in mind, and activating the camera is generally a straightforward process that doesn’t involve manually turning the camera on or off.
Turning on the built-in camera on a MacBook is usually a simple process, as Apple’s design philosophy focuses on ease of use. Unlike external webcams, the MacBook’s internal camera does not have a power button or switch; instead, it activates automatically when an application that uses the camera is opened. Understanding how to use the camera and ensuring proper settings and permissions can help avoid any potential issues.
Activating Your MacBook’s Built-In Camera
Using Applications that Require Camera Access
To activate the built-in camera on your MacBook, you typically just need to open an application that requires camera usage. The camera is designed to start automatically when needed, ensuring a smooth and user-friendly experience. Here’s how to get started with some of the common applications that use the MacBook camera:
FaceTime for Video Calls
FaceTime is Apple’s own video calling application that comes pre-installed on all MacBooks. To use the camera with FaceTime:
- Click on the FaceTime icon in your Applications folder or dock.
- Sign in with your Apple ID if prompted.
- The application interface will show your camera feed—this means the camera is now active.
- To start a call, enter a contact’s name, email, or phone number, and click the video icon.
When you initiate or accept a video call, FaceTime automatically turns on the camera.
Photo Booth for Taking Pictures and Videos
Photo Booth is another pre-installed application that allows you to take photos and videos using your MacBook’s camera.
- Launch Photo Booth from your Applications folder or dock.
- The camera will turn on, showing the feed in the app’s window.
- You can take a photo or record a video by clicking the red camera button.

Third-Party Video Conferencing Apps
For video conferencing, you might use third-party applications like Skype, Zoom, or Microsoft Teams. Here’s what to do:
- Open the application you intend to use. If it’s not already installed, download it from the developer’s website or the Mac App Store.
- Sign in to your account within the application.
- Start a new meeting or join an existing one; the application should request access to your camera if it’s the first time you’re using it.
- Accept the prompt to give the app permission to use your camera, and your video feed should appear.
For these apps, you often have the option to test your video before joining a meeting to ensure everything is working correctly.
Ensuring Camera Access and Permissions
If the camera doesn’t turn on when you open an application, you might need to check your system permissions:
- Go to ‘System Preferences’ from the Apple menu.
- Click on ‘Security & Privacy’ and go to the ‘Privacy’ tab at the top.
- In the sidebar, click on ‘Camera’.
- Look for the app you’re trying to use and make sure it has a checkmark next to it. If not, click the box to enable camera access.
Remember, you may need to click the lock icon and enter your administrator password to make changes to these preferences.
By following these steps, you can easily use and manage camera access for different applications on your MacBook, ensuring that your camera turns on when you need it and that your privacy settings are appropriately configured.

Troubleshooting Camera Issues on MacBook
Basic Troubleshooting Steps
Before diving into more complex solutions, try these simple steps:
- Restart Your MacBook: A basic restart can often clear up temporary software glitches that may be causing camera issues.
- Close and Reopen the Application: If the camera isn’t working in a particular app, try closing the app completely and reopening it. Sometimes this is enough to reset the app’s connection to the camera.
- Check for Application Updates: If you’re using a third-party app, make sure it’s updated to the latest version. Outdated apps can sometimes lead to compatibility issues with the camera.
- Update Your macOS: Running the latest version of macOS ensures that all drivers, including those for the camera, are up to date.
Verifying Camera Functionality
If basic troubleshooting doesn’t resolve the issue, verify that the camera itself is functioning properly:
- Use a Different Application: Try using the camera with a different application, such as Photo Booth or FaceTime, to see if the problem is app-specific.
- Check the Status Indicator Light: If the green light next to the camera is on but there’s no video feed, the camera might be engaged by another application. Close any apps that could be using the camera and try again.
- Inspect for Hardware Issues: While hardware failures with MacBook cameras are rare, if you’ve dropped your MacBook or it has sustained damage, the camera may be affected.

Advanced Troubleshooting Techniques
If the camera still isn’t working, consider these more advanced techniques:
- Reset the System Management Controller (SMC): The SMC controls several hardware functions on your MacBook, and resetting it can sometimes resolve camera issues.
- Use Terminal to Restart the Camera Process: Sometimes, the backend process that controls the camera might need to be restarted. You can do this by opening the Terminal app and entering the following command:
sudo killall VDCAssistant; followed bysudo killall AppleCameraAssistant. You’ll need to enter your admin password to execute these commands.
Seeking Further Assistance
If none of the troubleshooting steps work, it might be time to seek further assistance:
- Consult Apple Support: You can get help online through the Apple Support website or by making an appointment at the Genius Bar in an Apple Store.
- Check Your Warranty: If there’s a possibility of a hardware issue, check if your MacBook is still under warranty or covered by AppleCare+ for potential repairs or replacement.

Conclusion
When facing issues with your MacBook’s camera, a systematic approach to troubleshooting can often resolve the problem. Start with basic checks like ensuring software updates and trying different applications, then move on to more advanced techniques if needed. While the camera on a MacBook enables seamless virtual communication, loop earplugs offer an oasis of quietude, encapsulating a perfect balance between staying connected and enjoying solitude.
While an action camera head mount is great for capturing dynamic outdoor activities, if you’re looking to video chat or livestream indoors, you’ll need to know how to turn on the camera on your MacBook. If all else fails, Apple’s support channels are available to assist you with diagnosing and fixing the problem.
